
Wedding Photography
2. The Bride’s Home
On the day of the wedding you, the photographer, will arrive at the bride’s home about 2 hours before the ceremony. The purpose of this visit is not just the photography you will do.
This is your opportunity to develop a rapport with the bride, her family, and the bridesmaids. In particular get to know the maid of honor, and enlist her help to organize the photos. This will set the tone for the remainder of the day, and she will be your best ally.
As you are introducing yourself and setting up your equipment, survey the home for shooting locations. Look for a good background with about 20 to 25 feet of clear space in front for group shots. Moving furniture to make room is usually permissible. (Just make sure you restore everything before leaving! You do not want the family to return home after midnight only to have to re-arrange the furniture you disrupted.) Find a good window with soft light for window light portraits, and look for interesting features to incorporate in your shots (mirror, fireplace … ). If outdoor shots are requested, be careful not to soil dresses and shoes in the process.
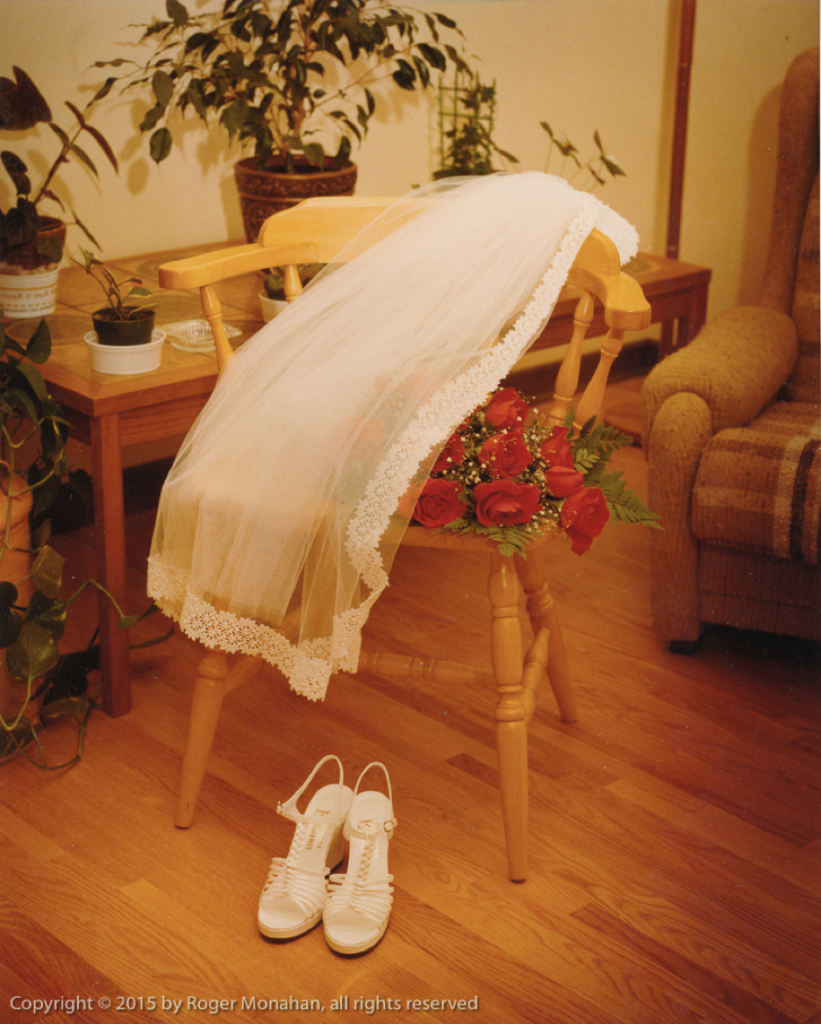
Throughout the day you will be looking for a closing shot for the album (the one that sums things up …). If the bride is not quite ready when you arrive, request her veil, shoes, and bouquet, and do a still life.

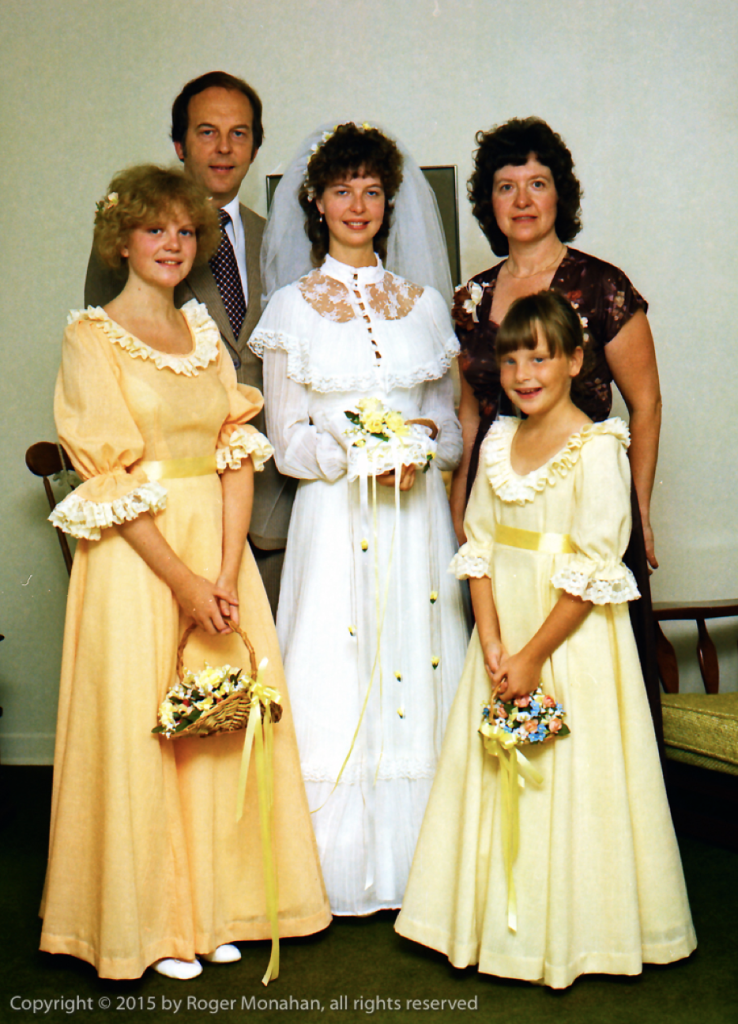
You begin with group photos of the bride with her family. Avoid massive groups. People look better in small groups. They are more manageable. You do not need as much room to accomplish the shot. Your income is ultimately tied to the number of shots they purchase. If the bride requests a massive family photo, do it first. It is easier to move in for smaller groups than it is to try larger groups and realize you do not yet have enough room.
There is a bit of an art to doing standing group photos. Posing is extremely important. The bride is typically in the middle. Have her turn with her shoulders at 45 degrees to the camera, with her head turned so her face is fully visible. Arrange the bride’s dress so it drapes properly, have her hold her bouquet so it is fully visible, and do a full length shot of the bride. Have her remain in this spot while you arrange the group shots around her one by one. As you line people up on either side, they too are turned at 45 degrees into the middle. Try as much as possible to match heights, with a smooth gradation from short to tall. Children can be placed in front. Feet in front should have toes pointing toward the camera. (One foot noticeably out of line will catch the attention of the viewer, and the foot has become the point of interest!) When you are posing the group, leave your camera back at your shooting position, and work with each person to position them. When the group is assembled, go back to your camera, make last-minute adjustments if necessary, and take the shot. (Always 2 or 3 exposures to get one with no closed eyes.)
Camera position is critical. You should have your camera about 3 feet (1 metre) above the ground, and shoot dead level, composing the group as full length. (If you do not have the room, raise your camera slightly and go for 3/4 length.) If your camera is not level, your shot will keystone. If the camera is too high, for instance, and you are shooting on a down angle, the subjects at the edge of the group will appear to be falling backwards. Always use flash. Indoors, a direct flash may be necessary. Use bounced flash if you have a suitable surface and a strong enough flash unit. Shooting outdoors in a soft shade, use just enough flash to produce highlights in their eyes. In direct sun, backlight the subjects and use a flash fill one stop under the daylight (expose for the backlight).
The secret to avoiding stiff and unnatural subjects in this group photography marathon is simple: Keep things moving. Have a constant friendly banter with the people around you, letting them know what you want and what you are doing. When you start arranging a group, always announce to the maid of honor, “Next I am going to need….”. Each group, once you have them before you, should take no more than 30 seconds to pose, and 15 seconds to shoot. Always say thank you, then move on to the next group.

The groups follow a pattern:
- Bride alone
- Bride with parents
- Bride with siblings
- Bride with children
- Bride with Grandparents
- Bride with other family members, as small groups, and finally
- Bride with Maid of Honor
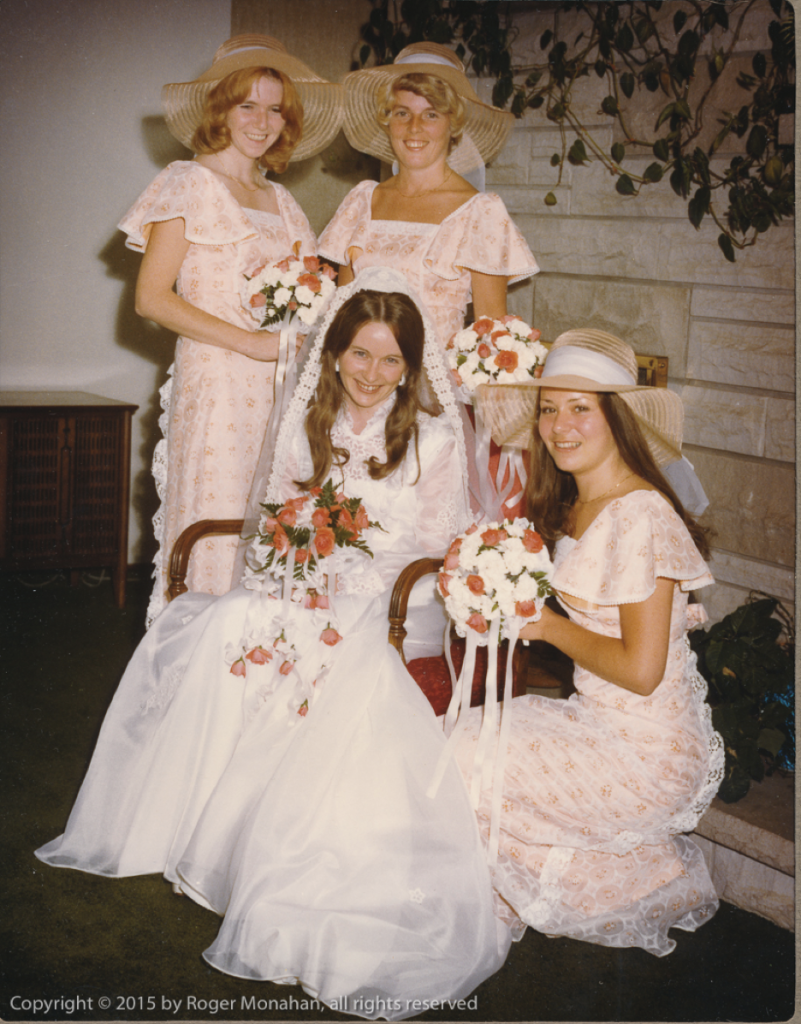
- Bride with bride’s maids
Always be sensitive to things that happen around the bride, and be ready to get the shot. Remember that although she thinks that she is having a break, you have just placed her there! Some amazing shots can happen when people are not expecting the camera.
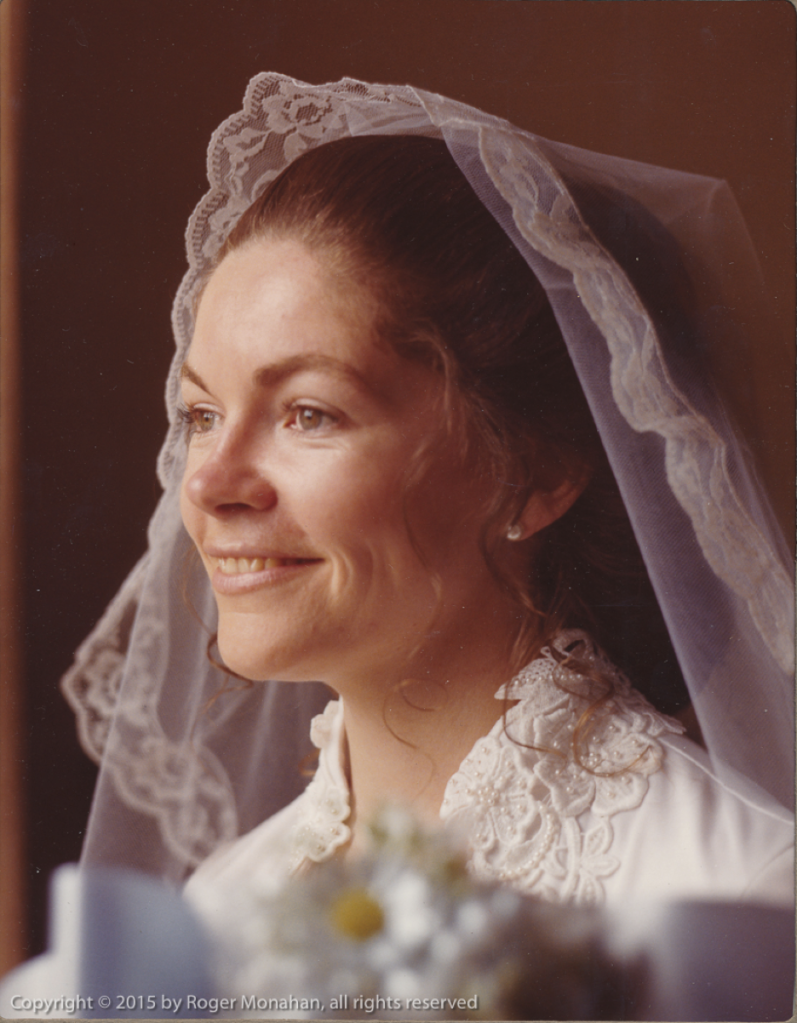
Take your time to do a superior window light portrait of the bride. Choose a window without direct sunlight streaming in. Soft skylight is more flattering. Look for Rembrandt lighting, with the little triangle-shaped highlight on the shadowed cheek. Shoot into the shadow side. Variations can include using the groom’s ring as a prop, and having the maid of honor hold a bouquet in the foreground for a little out-of-focus color…
Always shoot this with available light. If you use a reflector for fill, keep it subtle.
If the wedding is late in the year, make sure you do this shot while you still have daylight. You may have to advance it to the beginning of your routine if early darkness threatens.

Finally, you should be fairly familiar with the contents of the house, and if any can provide you with opportunities to do additional shots. Look for unique pieces of furniture, mirrors, etc, and let your creativity flow.
Mirrors are difficult to use. Flash should be bounced off a far wall to create soft lighting of the bride’s profile. Properly done, her reflection in the mirror will show classic Rembrandt lighting. Be careful not to allow the flash to spill into either your direct or reflected backgrounds.
If you are considering doing any matte box picture-in-picture effects or other compositing, leave shooting the components to the end.
You should be leaving the bride’s home about 1/2 hour before the bride. Make your way to the church, letting her know that you will be meeting them outside the church when they arrive.